Dutch Braid vs French Braid: What’s the Difference?
Confused between Dutch and French braids? Here’s the difference plus how to do both.
If you’ve spent any time browsing braid tutorials, you’ve probably noticed two names come up again and again: the Dutch braid and the French braid. They look similar at first glance, but once you know what to look for, the difference becomes obvious — and so does which one you should learn first.
This guide breaks down the Dutch braid vs French braid debate once and for all, including exactly how each one is made, how they look different once finished, and which is actually easier for beginners. By the end, you’ll know how to dutch braid and how to french braid with confidence, plus which style suits your hair type and skill level best.
The Quick Answer
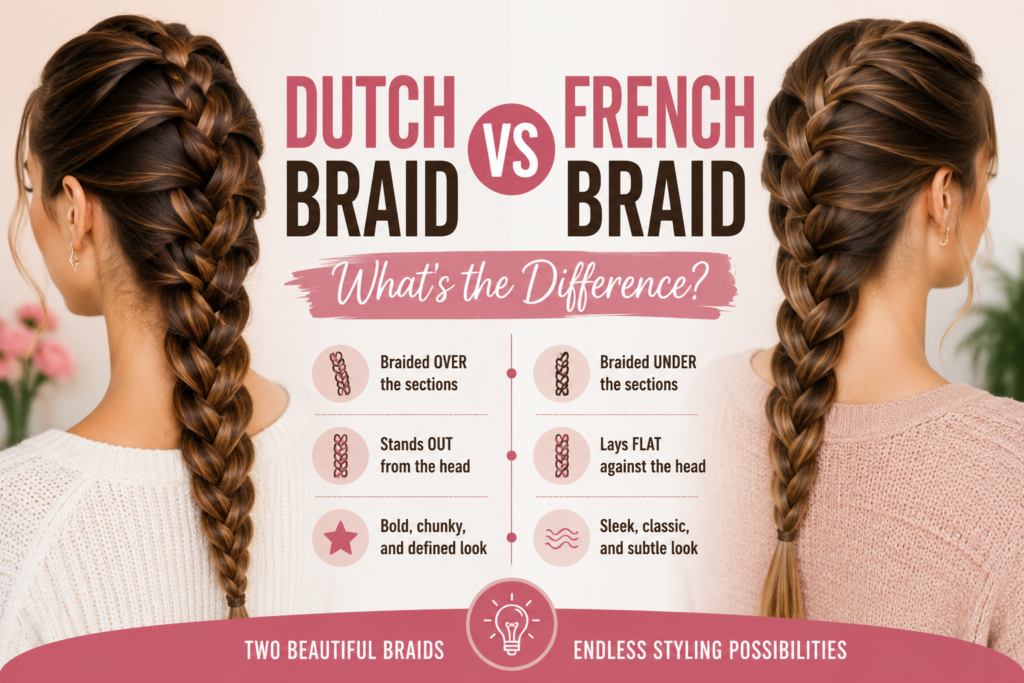
The core difference comes down to one simple technique:
- French braid: You cross each section of hair over the middle strand, weaving it into the braid.
- Dutch braid: You cross each section under the middle strand instead.
That single change — over versus under — is what gives Dutch braids their raised, 3D appearance, while French braids sit flatter against the scalp.
What Is a French Braid?
The French braid is the style most of us picture when we think “classic braid.” It starts at the crown of the head with a small three-strand section. As you braid, you continuously add small pieces of hair from either side into the strand you’re crossing, working your way down until all the hair is incorporated.
Because each strand crosses over the center, the braid weaves itself into the surface of your hair rather than sitting on top of it. This creates a smooth, flat, polished look that blends naturally into the rest of your hairstyle.

How to French Braid, Step by Step
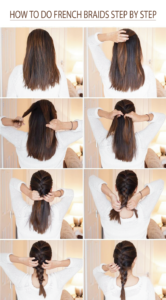
- Start with a small section of hair at your crown and split it into three even parts.
- Cross the right section over the middle, then the left section over the new middle.
- Before your next cross, add a small piece of hair from the right side into the right section, then cross it over the middle.
- Repeat on the left side, alternating sides and adding hair each time.
- Continue down to the nape of your neck, then finish with a regular three-strand braid to the ends.
- Secure with an elastic.
Beginner tip: French braids are easiest to learn on your own hair when practiced in a mirror, starting with looser sections until your hands get used to the motion.
What Is a Dutch Braid?
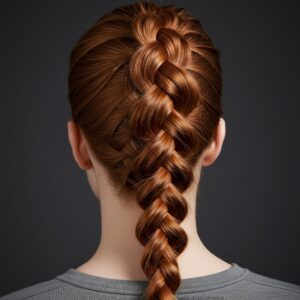
The Dutch braid uses the exact same three-strand technique and the same process of adding hair as you go — the only difference is direction. Instead of crossing each strand over the middle, you cross it under. This “inverted” motion pushes the braid outward instead of flattening it into the scalp, giving it a raised, sculptural look that sits on top of the hair.
Because of this 3D effect, Dutch braids are sometimes called “inside-out braids,” and they tend to photograph beautifully thanks to the extra texture and definition.
How to Dutch Braid, Step by Step
- Section a small piece of hair at your crown and divide it into three strands.
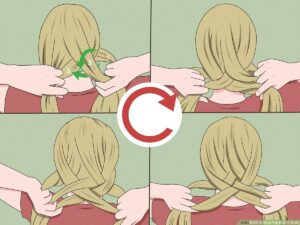
- Cross the right strand under the middle, then the left strand under the new middle.
- Add a small section of hair to the right strand before crossing it under again.
- Repeat on the left side, continuing to add hair as you alternate.
- Once all the hair is incorporated, finish with a standard under-cross braid to the ends.
- Secure with an elastic.
Beginner tip: Because Dutch braids sit on top of the hair, they’re more forgiving of small mistakes — any unevenness tends to blend into the raised texture rather than standing out.
Dutch Braid vs French Braid: Key Differences at a Glance
| Feature | French Braid | Dutch Braid |
|---|---|---|
| Technique | Strands cross over the middle | Strands cross under the middle |
| Finished look | Flat, woven into the scalp | Raised, sits on top of the hair |
| Visual effect | Soft and blended | Bold and 3D |
| Best for | Sleek, polished looks | Textured, statement looks |
| Difficulty for beginners | Slightly more intuitive | Slightly trickier at first, but more forgiving of mistakes |
| Common uses | Half-up styles, buns, everyday looks | Boxer braids, festival looks, athletic styles |
Which One Is Easier to Learn First?
Most stylists recommend starting with the French braid because the over-under motion mimics the standard three-strand braid most people already know, just with the added step of picking up new hair. Once you’re comfortable with that rhythm, switching to the Dutch braid is simply a matter of reversing the direction.
That said, some beginners actually find the Dutch braid easier to maintain once it’s finished, since the raised strands hide small inconsistencies better than the flatter French braid does. If your hands are new to braiding, don’t be discouraged if your first few attempts look a little uneven — both styles improve dramatically with repetition.
Which Braid Should You Choose?
- Choose a French braid if you want a soft, elegant look for work, school, or an updo base.
- Choose a Dutch braid if you want extra texture, volume, or a bolder finished look — perfect for double braids, festival hair, or workout styles that need to stay secure.
- Can’t decide? Try both on the same day. Many people find one style simply feels more natural in their hands, and that’s usually the one worth practicing until it becomes second nature.
Common Mistakes to Avoid With Both Styles
- Sections that are too big. Large starting sections make the braid harder to control. Keep your initial three-strand section small.
- Pulling too tight. This causes discomfort and can lead to breakage along the hairline. Aim for a snug, not tight, tension.
- Uneven hair pickup. Try to add roughly the same amount of hair from each side every time you cross a strand — this keeps the braid symmetrical.
- Rushing the first few rows. The first 2–3 crosses set the foundation for the rest of the braid, so take your time getting them even before you speed up.
Final Thoughts
At the end of the day, the Dutch braid vs French braid comparison isn’t about one style being objectively better — it’s about which look and texture you’re going for. French braids give you a smooth, classic finish, while Dutch braids add dimension and hold. The best way to figure out which one suits you is simply to practice both. Once your hands memorize the pattern, you’ll be able to switch between them depending on the occasion, your hair type, and how much texture you want.
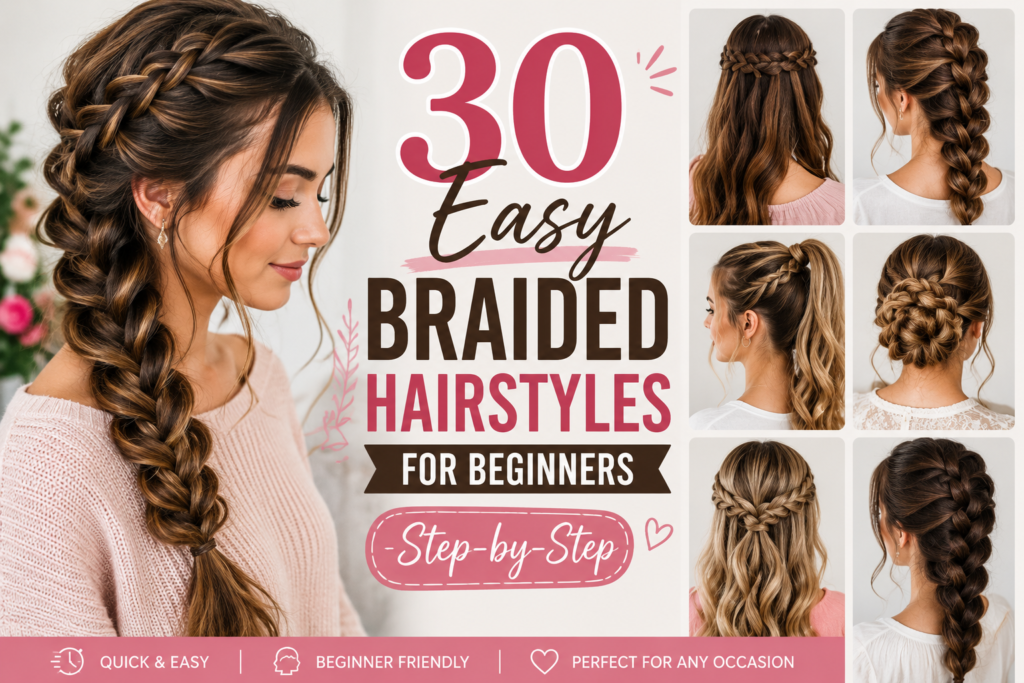
Want more step-by-step braid tutorials? Check out our full guide to 30 Easy Braided Hairstyles for Beginners for more looks you can master at home.