How to Do a Fishtail Braid in 5 Easy Steps
Master the fishtail braid with this simple 5-step tutorial and photos.
The fishtail braid looks like it belongs in a magazine editorial, but here’s the secret: it’s actually one of the easier braids to learn once you understand the pattern. Unlike a traditional three-strand braid, the fishtail only uses two sections — which means fewer strands to juggle and a technique that becomes second nature surprisingly fast.
If you’ve been wanting to learn how to fishtail braid but assumed it was too advanced, this fishtail braid tutorial will walk you through the entire process in five simple steps. Whether you’re aiming for a polished finish or a deliberately loose, boho look, the fishtail braid works for almost any occasion.
Why the Fishtail Braid Is Easier Than It Looks
Most people assume the fishtail braid is complicated because the finished result looks so intricate. In reality, the “woven” appearance comes from repeating one simple motion over and over — you’re just pulling thin pieces from the outer edge of each section and crossing them to the other side. There’s no strand-counting or complex pattern to memorize, which is exactly why this qualifies as an easy fishtail style once you get the rhythm down.
What You’ll Need
- A fine-tooth comb or brush
- A small hair elastic
- Bobby pins (optional, for stray pieces)
- A texturizing spray or dry shampoo (optional, for extra grip)
Fishtail braids actually hold better on hair with a bit of texture, so if your hair is freshly washed and silky, a light texturizing spray will make the process easier and the final result longer-lasting.
How to Fishtail Braid in 5 Easy Steps
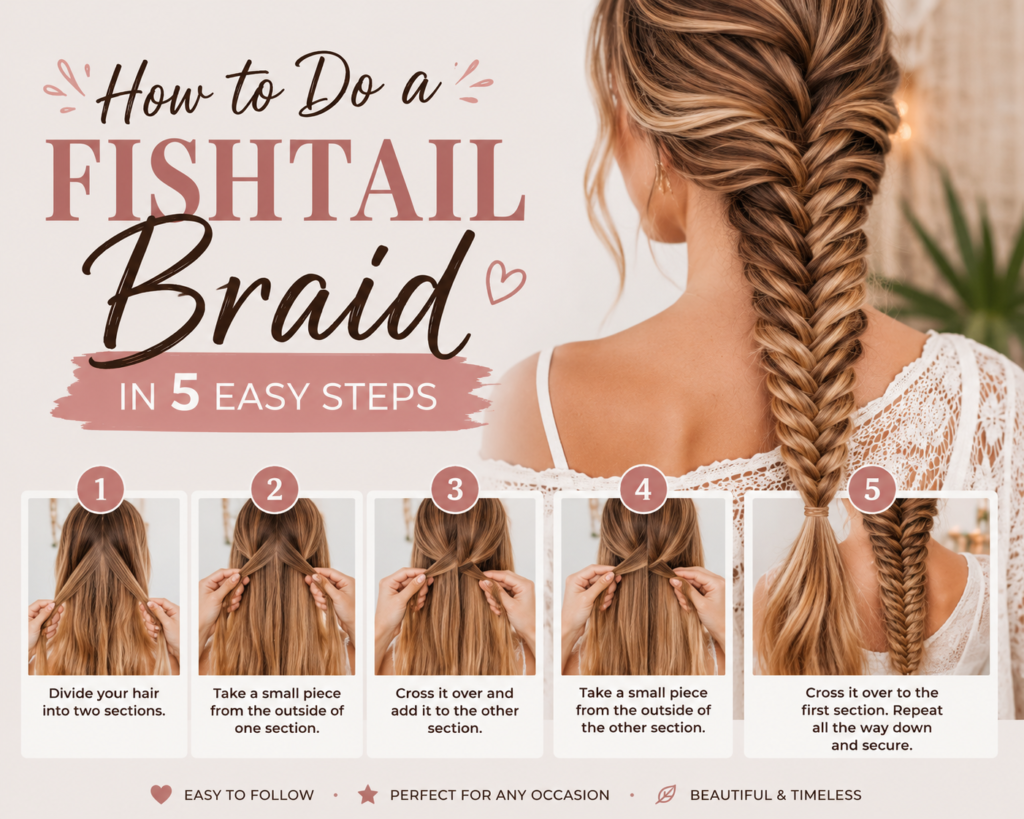
Step 1: Split Your Hair Into Two Sections
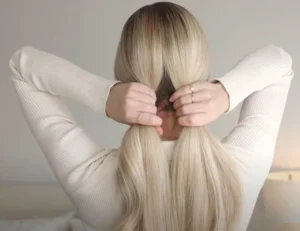
Gather all your hair (or the section you’re braiding) and divide it evenly into two parts — left and right. Hold one section in each hand, keeping them separated with your fingers.
Step 2: Take a Thin Piece From the Outer Edge
Using your fingers, pull a small, thin piece of hair from the outer edge of the right section. The thinner the piece, the more detailed your finished braid will look — this is the key difference between a fishtail and other braids.
Step 3: Cross It Over to the Left Section
Bring that thin piece of hair over the top and add it to the left section. Pinch both sections together in one hand for a second to keep tension even, then separate them again with both hands.
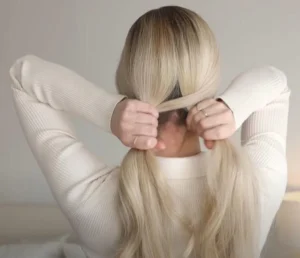
Step 4: Repeat on the Opposite Side
Now take a thin piece from the outer edge of the left section and cross it over to the right side. Continue alternating — right to left, then left to right — keeping each piece roughly the same thickness for a consistent pattern.
Step 5: Braid to the Ends and Secure
Keep repeating steps 2–4 down the length of your hair. As you get closer to the ends, your sections will naturally get thinner — that’s normal. Once you reach the bottom, secure the braid with a small elastic.
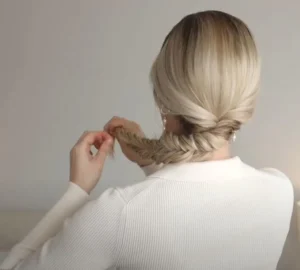
Final touch: Gently pull apart the edges of the braid with your fingers to loosen it slightly. This widens the braid and makes the woven pattern more visible — plus it hides any small inconsistencies from when you were learning.
Tips for a Better Fishtail Braid
- Keep your sections thin. The thinner and more consistent your pieces are, the more detailed and “woven” your fishtail will look.
- Don’t worry about perfection. A slightly messy fishtail often looks more intentional and stylish than an overly neat one.
- Work in front of a mirror at first. Fishtail braids are easier to learn when you can see what your hands are doing, especially for the first several attempts.
- Braid on day-old hair. Freshly washed hair is often too slippery to hold the fishtail’s fine detail — textured, slightly unwashed hair grips much better.
- Practice on a low ponytail first. If braiding directly against your scalp feels tricky, gather your hair into a ponytail and practice the fishtail technique on the tail before attempting it from the roots.
Common Fishtail Braid Mistakes to Avoid
- Taking sections that are too thick. This is the most common beginner mistake and results in a chunky braid that doesn’t show the classic fishtail weave.
- Uneven tension. Pulling one side tighter than the other will cause your braid to twist to one side. Try to keep both hands working with similar pressure.
- Rushing through the first few crosses. Like most braids, the first several crosses set the pattern for the rest — slow down at the start, then pick up speed once you find your rhythm.
Fishtail Braid Variations to Try Once You’ve Mastered the Basics
- Fishtail ponytail: Gather hair into a ponytail first, then fishtail braid the tail for a sportier, secure look.
- Fishtail crown: Wrap a fishtail braid around your head for an elegant, boho-inspired style.
- Loose fishtail: Braid slightly looser than usual and pull each section apart generously for a relaxed, festival-ready finish.
- Side fishtail: Sweep your hair to one shoulder before braiding for an easy, romantic evening look.
Final Thoughts
Once you understand that the fishtail braid is really just two sections trading small pieces back and forth, the technique stops feeling intimidating and starts feeling almost meditative. Give yourself a few practice runs — most people get the hang of it within three or four tries — and soon this fishtail braid tutorial will be a style you can recreate from memory in just a few minutes.
Want to keep building your braiding skills? Check out our guides on 30 Easy Braided Hairstyles for Beginners and Dutch Braid vs French Braid for more step-by-step tutorials.