How to Use a Curling Iron: Beginner’s Step-by-Step Guide
A beginner-friendly, step-by-step guide to using a curling iron correctly.
A curling iron can feel intimidating the first few times you pick one up — burnt fingers, uneven curls, or a style that falls flat within an hour are all common beginner frustrations. The truth is, once you understand the fundamentals, it’s one of the most reliable tools for consistent, long-lasting curls or waves.
This curling iron tutorial for beginners breaks down exactly how to use a curling iron, from choosing the right barrel size to techniques that make curls last all day.
Choosing the Right Curling Iron
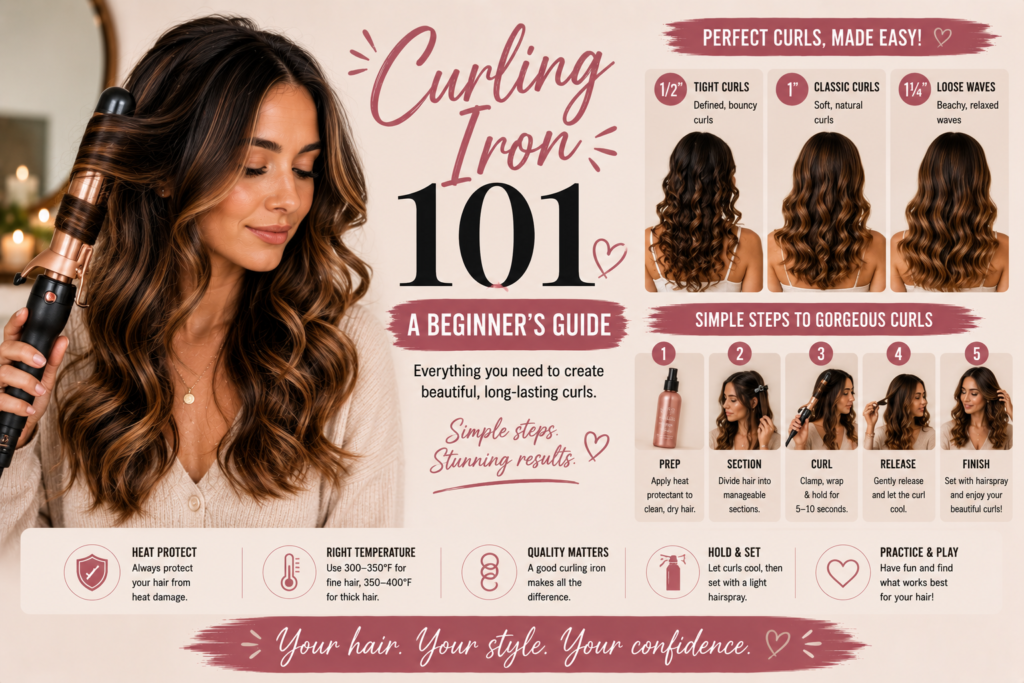
- Smaller barrels (¾ inch to 1 inch) create tighter, more defined ringlet-style curls.
- Medium barrels (1 to 1.25 inches) create classic, versatile curls suitable for most hair lengths and looks.
- Larger barrels (1.5 inches and up) create loose, soft waves rather than tight curls.
If you’re a beginner, a 1 to 1.25 inch barrel is generally the easiest to work with and produces results that suit most hair types and lengths.
What You’ll Need
- A curling iron in your chosen barrel size
- A heat protectant spray
- Sectioning clips
- A comb or brush
- Optional: a heat-resistant glove for beginners
How to Use a Curling Iron: Step by Step
Step 1: Prep Your Hair
Start with clean, dry hair (curling irons don’t work well on wet or damp hair). Apply a heat protectant spray throughout, focusing on mid-lengths and ends where damage is most likely to occur.
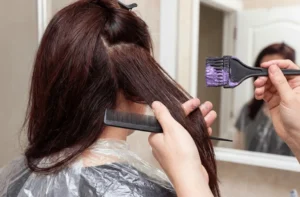
Step 2: Section Your Hair
Divide your hair into sections, starting with the bottom layer and clipping the rest out of the way. Working in smaller sections produces more even, better-defined curls than trying to curl large chunks of hair at once.
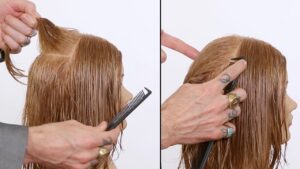
Step 3: Set Your Temperature
Choose a heat setting appropriate for your hair type — finer hair typically needs lower heat (around 300-330°F), while thicker or coarser hair can often handle higher heat (up to 400°F). When in doubt, start lower; you can always increase the temperature if needed.
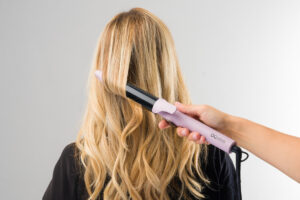
Step 4: Position the Iron
Take a section about one to two inches wide. Open the clamp and place the section between the clamp and the barrel near the roots, leaving a small gap from the scalp for safety and comfort.
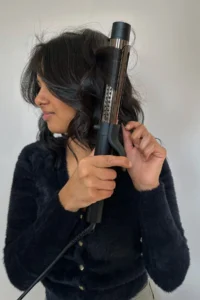
Step 5: Wrap and Hold
Close the clamp and wrap the hair around the barrel, working down toward the ends. Hold for about 8-12 seconds, depending on your hair type and desired curl intensity — finer hair typically needs less time than thicker hair.
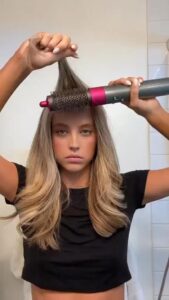
Step 6: Release Gently
Carefully release the curl from the iron, letting it fall naturally. Avoid touching or brushing it immediately, as this can loosen the curl before it has time to set and cool.

Step 7: Repeat and Alternate Direction
Continue through each section, moving up through the layers you clipped earlier. For a more natural look, alternate the direction you curl toward (some sections curling away from your face, others curling toward it) rather than curling every piece the same way.
Step 8: Let Curls Cool Before Styling
Once you’ve finished all sections, wait a few minutes for the curls to fully cool before brushing or running your fingers through them. This helps the curl pattern set and last longer throughout the day.
Tips for Longer-Lasting Curls
- Use hairspray section by section, not just at the end. Lightly spraying each curl as you finish it helps lock in shape better than one pass of hairspray at the very end.
- Curl away from your face for a softer look, or toward your face for a more dramatic, face-framing effect.
- Let curls fully cool before touching them. Pinning freshly curled sections to your scalp with a clip while they cool can help the curl set even more securely.
- Brush curls out gently, if at all. A light finger-comb after curls have cooled creates soft, separated waves without fully loosening the curl. A stiff brush can flatten curls almost completely.
- Don’t overload with product before curling. Heavy styling creams or oils can weigh down curls and prevent the iron from creating a defined shape.
Common Curling Iron Mistakes to Avoid
- Using too high a heat setting. This increases damage risk without necessarily improving how well the curl holds.
- Curling hair that’s already been curled once and cooled. Re-curling the same section can cause unnecessary heat damage — if a curl didn’t turn out, let it cool and try again rather than immediately re-curling.
- Taking sections that are too large. Thick sections often result in uneven, poorly defined curls since the heat doesn’t reach all the hair evenly.
- Skipping heat protectant. This is one of the most common and most damaging mistakes, especially with repeated use over time.
- Not alternating curl direction. Curling every section the same way can result in a stiff, uniform look rather than natural-looking movement.
Final Thoughts
Like most styling tools, a curling iron becomes far easier to use with a bit of practice. Once you’ve nailed down the basics of temperature, section size, and timing covered in this curling iron tutorial for beginners, you’ll be able to create consistent, long-lasting curls in a fraction of the time it took when you were first learning.
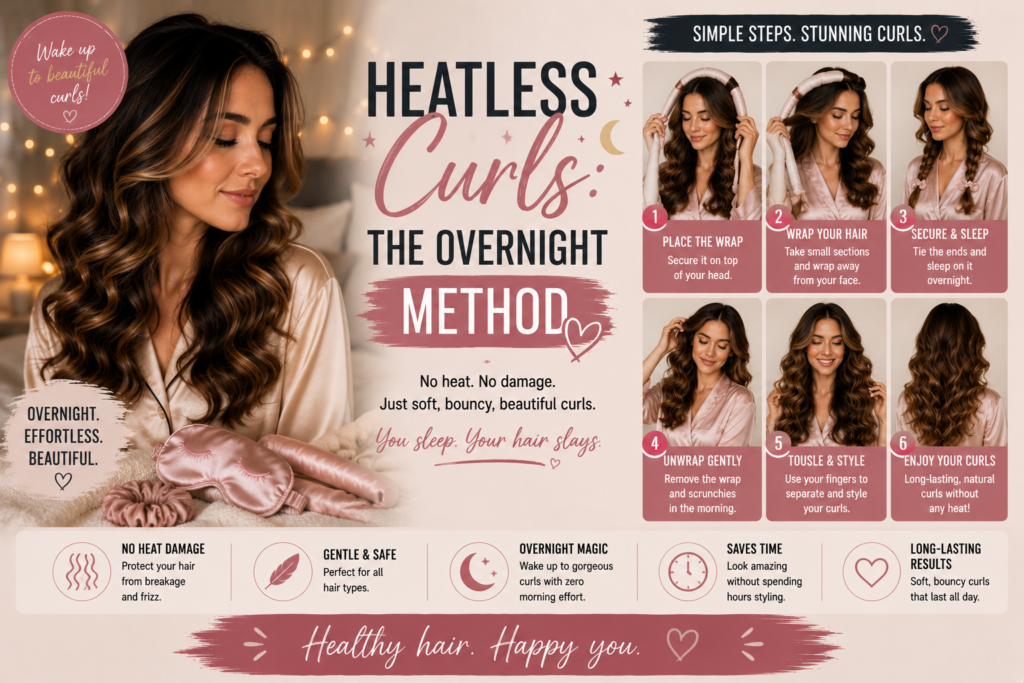
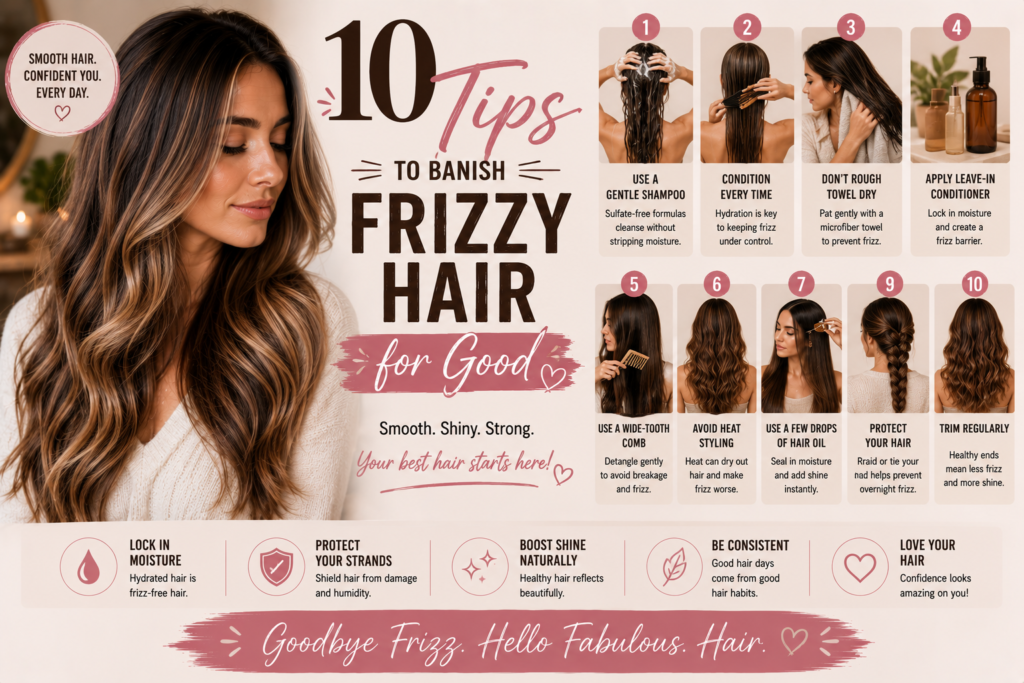
Looking for more styling tutorials? Check out our guide on Heatless Curls: The Overnight Method if you want to skip heat altogether, or 10 Tips to Banish Frizzy Hair for Good for more hair health tips.