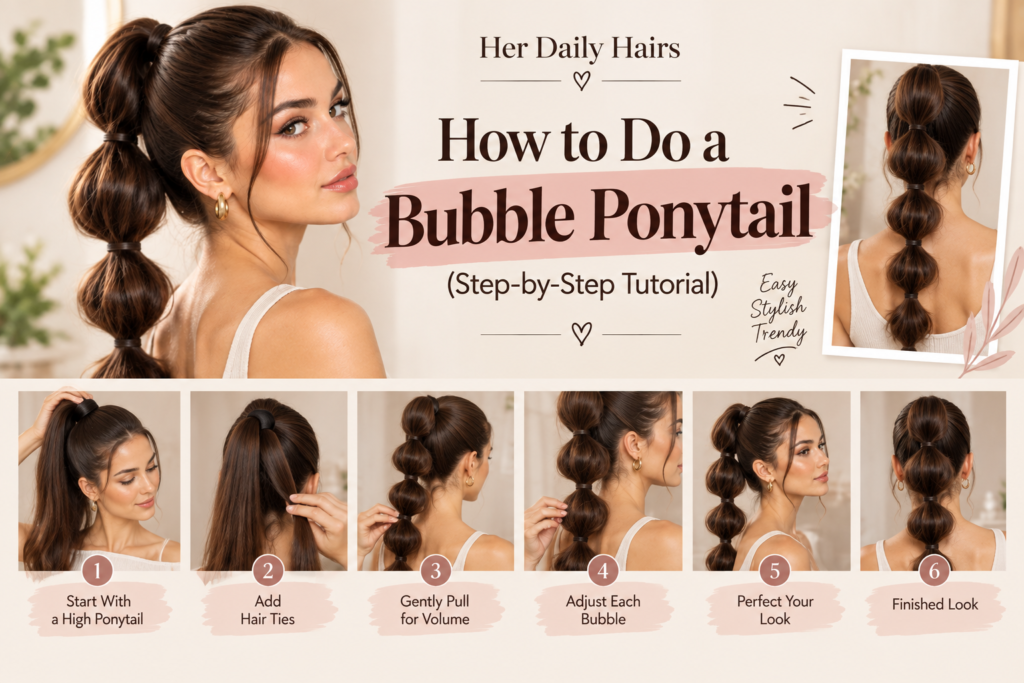
If you’ve been scrolling Pinterest and wondering how to recreate that fun, segmented ponytail everyone’s wearing, you’re in the right place. This bubble ponytail tutorial walks you through the entire process step by step, so you can get that playful, voluminous look at home in under five minutes — no salon trip required.
The bubble ponytail is one of those hairstyles that looks far more complicated than it actually is. With just a few elastics and a little practice, you’ll have this trendy style down and ready to wear to school, brunch, festivals, or a casual day out.
What Is a Bubble Ponytail?
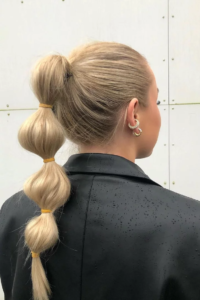
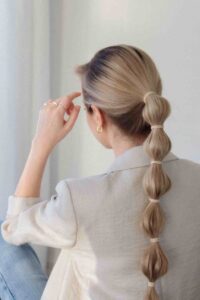
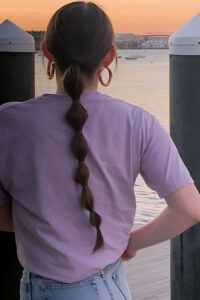
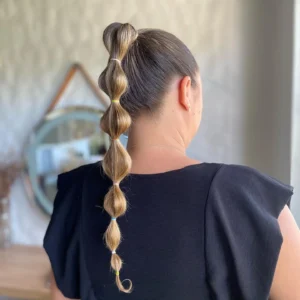
A bubble ponytail is a classic ponytail that’s been sectioned off into small elastics along its length, then gently pulled apart between each tie to create rounded “bubbles.” The result is a fun, textured, 3D effect that instantly makes a simple ponytail look more polished and intentional — it’s one of the easiest ways to elevate a basic hairstyle without any advanced technique.
What You’ll Need
Before starting, gather these simple tools:
- A hairbrush or comb (a paddle brush works well for smoothing)
- 3–5 small, clear or matching hair elastics
- A regular hair tie for the base ponytail
- Bobby pins (optional, for securing loose pieces)
- Hairspray or texturizing spray (optional, for hold and volume)
- A rat-tail comb (optional, for a clean part or extra volume at the crown)
How to Do a Bubble Ponytail: Step-by-Step
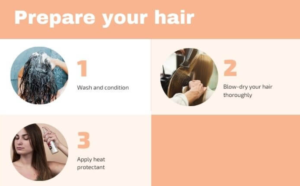
Step 1: Prep Your Hair
Start by brushing your hair thoroughly to remove any tangles. If you want extra volume at the crown, lightly backcomb (tease) the roots before gathering your hair. A texturizing spray at this stage also helps the elastics grip better, especially if your hair is naturally silky or freshly washed.
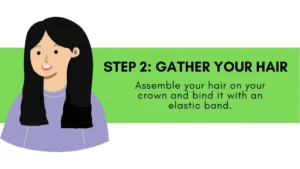
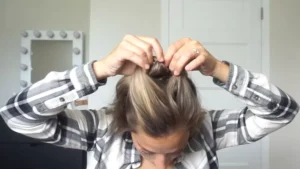
Step 2: Gather Your Ponytail
Decide on your ponytail placement — high, mid-height, or low all work for this style. Gather all your hair with your hands, smooth it back, and secure it tightly with a regular hair elastic. This becomes the base of your bubble ponytail.
Step 3: Add Your First Bubble Section
Measure a few inches down from the base elastic and secure a second small elastic at that point. This creates your first “section” of hair between the two ties.
Step 4: Create the Bubble Effect
This is the step that makes the style work. Gently place your thumbs inside the section of hair between the two elastics and carefully pull the hair outward and apart in small increments, working your way around the section. Go slowly — pulling too much at once can loosen the elastics or create an uneven shape. You’re aiming for a soft, rounded “bubble” shape, not a flat section of hair.
Step 5: Repeat Down the Ponytail
Continue adding small elastics every 2–4 inches down the length of your ponytail, repeating the pull-and-puff technique after each one. Most bubble ponytails have 3–5 bubbles total, depending on your hair length — shorter hair may only fit 2–3 comfortably.
Step 6: Adjust and Fluff
Once all your bubbles are in place, go back through each section with your fingers and adjust for symmetry. Gently fluff each bubble so they all look roughly the same size, and smooth any flyaways at the crown with a small amount of hairspray or a boar-bristle brush.
Step 7: Finish and Set
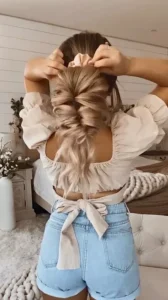
Give the entire ponytail a light mist of hairspray to help the bubbles hold their shape throughout the day. If you want a softer, more romantic finish, pull out a few face-framing pieces before setting.
Tips for the Best Bubble Ponytail
- Use clear elastics so they blend into your hair color and don’t distract from the bubble shape.
- Keep your sections even. Measuring roughly the same distance between each elastic keeps the bubbles proportional and neat.
- Don’t skip the teasing step if your hair is fine or thin — a little backcombing at the crown and within each section makes a big difference in how full the bubbles look.
- Curl your ends beforehand for extra volume in the last bubble and a softer overall finish.
- Practice on second-day hair. Hair with a bit of natural texture and grip (rather than freshly washed, silky-smooth hair) tends to hold the bubble shape better and longer.
Bubble Ponytail Variations to Try
Once you’ve mastered the basic technique, you can customize it in a few fun ways:
- High bubble ponytail — placed at the crown for a bold, sporty look.
- Low bubble ponytail — placed at the nape for a more elegant, low-key take, great for work or formal events.
- Curly bubble ponytail — done on naturally curly or curled hair for maximum texture and volume in every section.
- Bubble ponytail with braid — braid the ponytail loosely before adding elastics for a more intricate, boho-inspired finish.
- Kids’ bubble ponytail — a favorite for little ones, since the elastics keep hair secure and it holds up well through a full day of play.
Common Mistakes to Avoid
Even though a bubble ponytail is beginner-friendly, a few small missteps can keep it from looking its best:
- Uneven spacing between elastics. If your sections vary a lot in length, your bubbles will end up different sizes, which makes the style look less intentional. Try to eyeball roughly equal distances, or use your fingers as a rough measuring guide between each tie.
- Pulling too hard, too fast. Yanking at the hair between elastics can loosen your ties completely or create a messy, stringy look instead of a rounded bubble. Work in small tugs, moving evenly around the section.
- Skipping the crown prep. If you have fine or thin hair and skip backcombing at the roots, the base of your ponytail can look flat compared to the fuller bubbles below it, throwing off the overall shape.
- Using elastics that are too thick. Bulky elastics can peek through your bubbles and disrupt the smooth, rounded look. Thin, no-crease elastics blend in far more seamlessly.
- Not securing flyaways first. Loose baby hairs and flyaways are much harder to smooth down after the bubbles are already in place, so tackle them during the initial ponytail and teasing steps instead.
How Long Does a Bubble Ponytail Last?
With a light hold of hairspray and proper prep, a bubble ponytail can easily last a full day, including through activity. If a bubble starts to loosen, simply re-pull the section between the elastics to refresh the shape — you don’t need to redo the whole style.
Frequently Asked Questions
Do I need special elastics for a bubble ponytail? No — any small, clear elastics will work. Thin, seamless elastics tend to be the most comfortable and give the cleanest look since they’re less noticeable between bubbles.
Can I do a bubble ponytail on short hair? Yes, though you may only be able to fit two or three smaller bubbles depending on your length. A bubble ponytail on a shoulder-length or lob-length ponytail still looks great — just keep the sections shorter.
Will a bubble ponytail damage my hair? This style is generally gentle on hair since it doesn’t require tight pulling on individual strands the way some braided styles do. Just avoid over-tightening the elastics, and remove them carefully at the end of the day to prevent unnecessary breakage.
How do I remove a bubble ponytail without pulling my hair? Start by removing the elastic closest to the ends first and work your way up toward the base. This reduces tangling and tension compared to removing the base elastic first.
Final Thoughts
This bubble ponytail tutorial proves that one of Pinterest’s most-saved hairstyles is also one of the easiest to recreate at home. With just a handful of elastics and a few minutes of practice, you can turn a plain ponytail into a fun, voluminous style that works for everyday wear or special occasions alike.
Give it a try, and don’t forget to save this tutorial to Pinterest so you can reference the steps again next time you want to switch up your ponytail game.
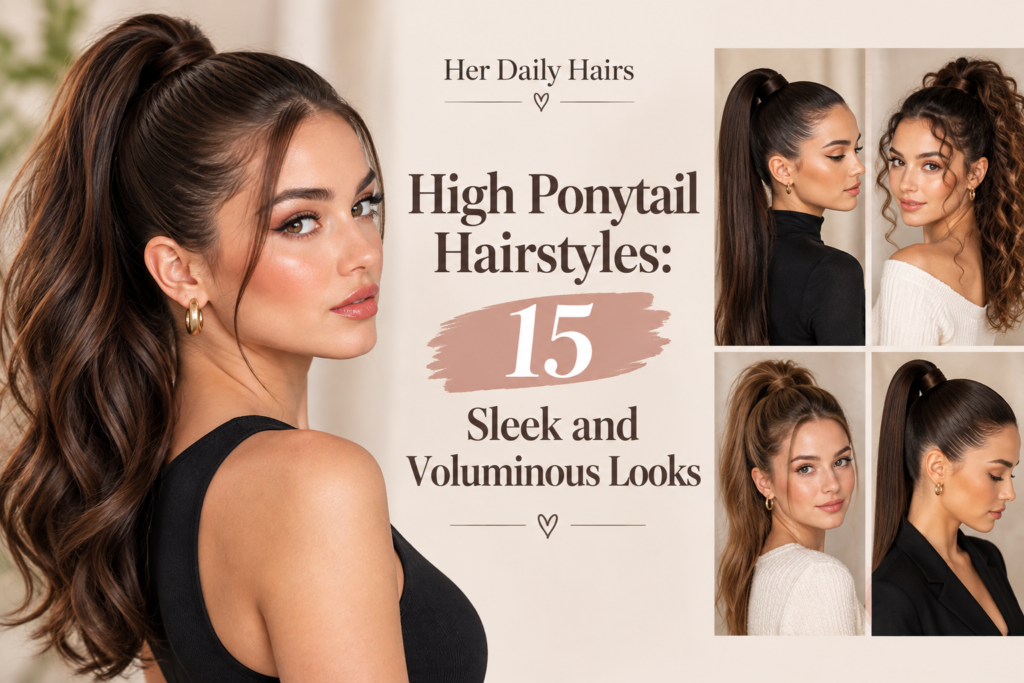
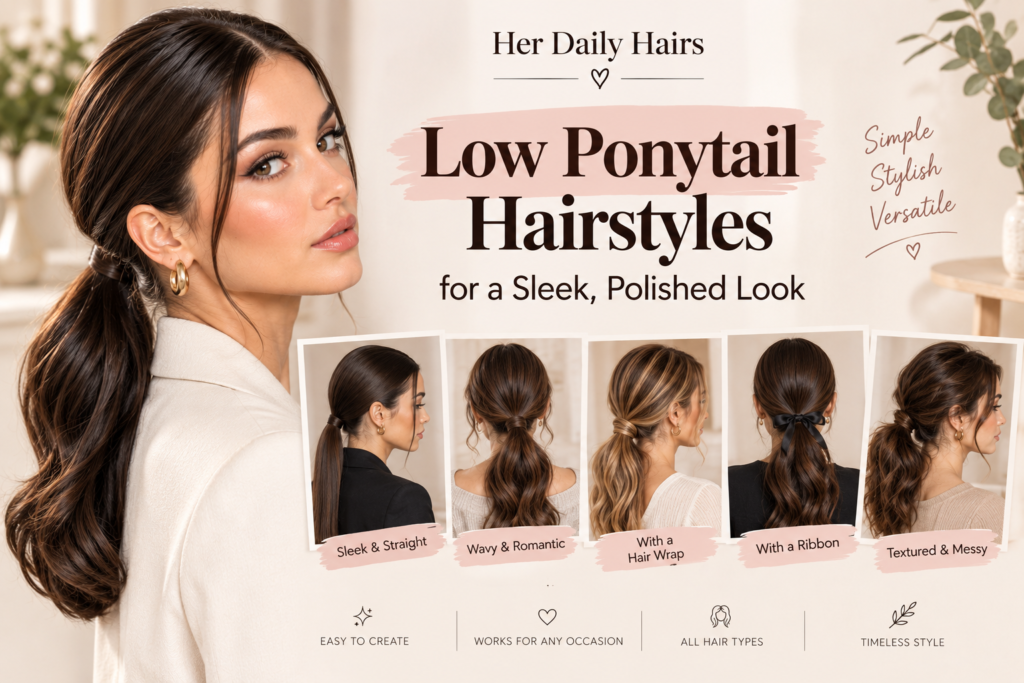
Looking for more fun, trendy hairstyle tutorials? Check out our guides on 15 High Ponytail Hairstyles and Space Buns: How to Do the Trendy Look Step by Step for more inspiration.