
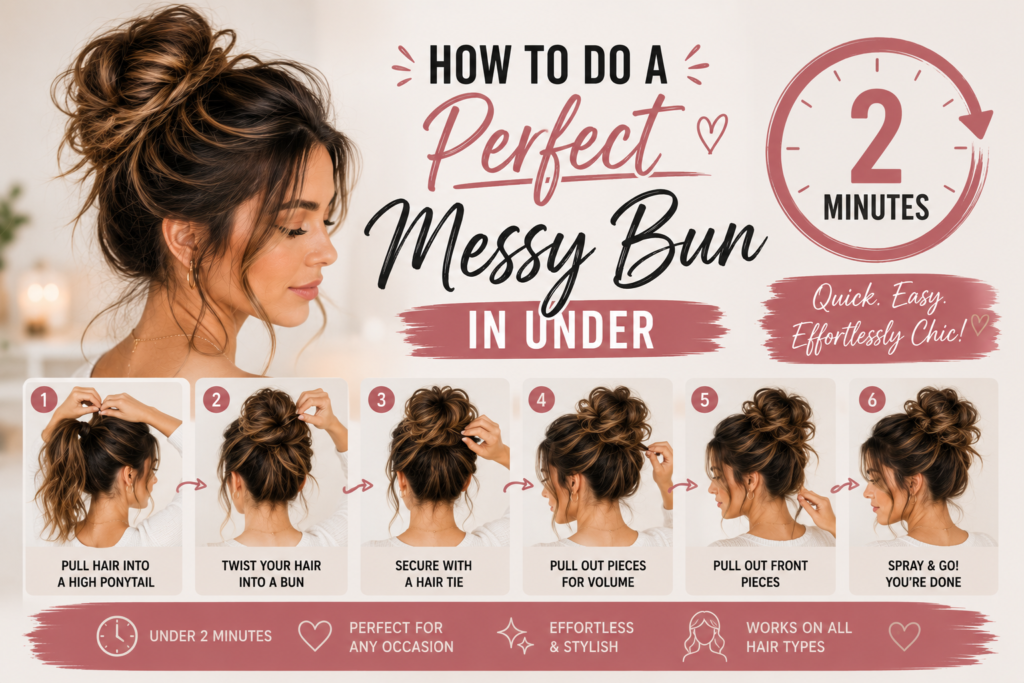
How to Do a Perfect Messy Bun in Under 2 Minutes
Learn how to create the perfect messy bun in under 2 minutes with this quick tutorial.
Some days call for an elaborate updo. Most days call for something you can do in the time it takes your coffee to brew. That’s exactly why the messy bun remains one of the most searched hairstyles year after year — it’s fast, forgiving, and somehow always looks effortlessly put-together, even when it’s genuinely thrown together.
This messy bun tutorial walks through exactly how to do a messy bun that looks intentional, not lazy, in under two minutes. No advanced technique required — just a few key tricks that make the difference between “messy-chic” and just plain messy.
What You’ll Need
- A hair elastic
- A few bobby pins
- Optional: dry shampoo or texturizing spray, a claw clip
That’s it. Part of what makes this a quick messy bun is that it requires almost no tools or products — though a little texture spray does help it hold longer.
How to Do a Messy Bun in 5 Steps
Step 1: Add Texture First
If your hair is freshly washed and slippery, spritz in a little dry shampoo or texturizing spray at the roots. This gives the bun something to grip onto, which is the difference between a bun that holds all day and one that slides out in twenty minutes.

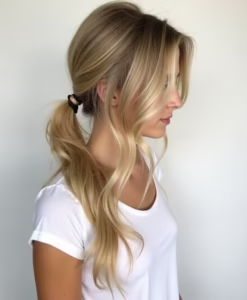
Step 2: Gather Hair Into a Loose Ponytail
Flip your head slightly forward and gather your hair into a ponytail at your desired height — high for a more youthful, casual look, or lower for something slightly more polished. Don’t worry about making it perfectly smooth; a little unevenness is exactly what you want here.
Step 3: Twist, Don’t Smooth
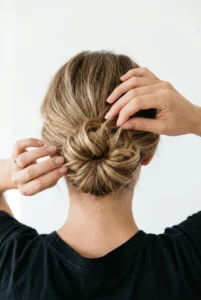
Instead of pulling your ponytail tight and neat, twist it loosely as you wrap it around the base. The twist is what creates that signature “messy” texture rather than a tight, controlled bun shape.

Step 4: Pin Loosely, Leaving Pieces Out
Secure the twisted bun with a few bobby pins, but resist the urge to pin every piece into place. Leave a few strands loose around your face and a bit of texture at the crown — this is what separates a genuinely messy bun from a bun that’s just come undone.

Step 5: Tug and Adjust
Once secured, gently pull at the edges of the bun to loosen it further and create more volume. Pull a few face-framing pieces free if you haven’t already, and you’re done.
3 Variations to Try
- High messy bun: Gather hair higher on the crown for a more casual, athletic look — great for workouts or errands.
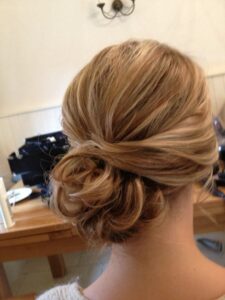
- Low messy bun: Position the bun at the nape of the neck for a slightly more polished, office-appropriate version.
- Messy bun with a claw clip: Skip the elastic entirely and twist hair up, securing it with a claw clip for an even faster (and trendier) version of the same look.
Common Messy Bun Mistakes
- Making it too neat. The most common mistake is over-smoothing the bun until it looks like a regular, tight bun instead of an intentionally undone one.
- Skipping texture. Freshly washed hair is often too slippery to hold a messy bun well — a little dry shampoo or texturizing spray goes a long way.
- Over-pinning. Using too many bobby pins flattens the bun and removes the volume that makes it look effortless. Use just enough to keep it secure.
- Pulling too tight. A tight ponytail base can cause tension headaches and doesn’t allow for the loose, twisted texture the style relies on.
Final Thoughts
The messy bun earns its spot as a go-to hairstyle because it’s genuinely fast, forgiving of “bad hair days,” and works on almost every hair length and texture. Once you get the twist-and-tug technique down, you’ll be able to recreate this messy bun tutorial without even glancing in the mirror — making it one of the easiest hairstyles to rely on for busy mornings.
Looking for more quick, everyday hairstyles? Check out our guide to 30 Easy Braided Hairstyles for Beginners for more low-effort looks you can master in minutes.