If you’ve ever wanted defined, frizz-free curls without hours of styling, the wash and go curly hair method might be exactly what you’re looking for. As the name suggests, a wash and go is designed to take your hair from freshly washed to fully styled in one continuous process — no braid-outs, twist-outs, or heat styling required, just a strategic application of product while your curls are still soaked.
This wash and go tutorial walks through the entire process step by step, from prepping your hair to choosing the right products and techniques for your specific curl pattern. Whether you’re new to wash and go styling or looking to troubleshoot a routine that isn’t giving you the definition you want, this guide covers what actually makes the difference between frizzy, undefined curls and a bouncy, well-defined wash and go.
What Is a Wash and Go?
A wash and go is a curly hair styling method where you cleanse or co-wash your hair, apply your styling products while it’s still fully saturated with water, and then let your curls dry (either air-dried or diffused) without disturbing them further. The goal is to encourage your natural curl pattern to clump together and dry in defined ringlets, rather than being separated or manipulated once product is applied.
This method works particularly well for curl types ranging from loose waves to tight coils, though the specific technique and products used often need to be adjusted based on your individual curl pattern and hair density.
Benefits of a Wash and Go
- Speed. Once you know your routine, a wash and go can take significantly less time than styles requiring sectioning, twisting, or braiding.
- Low manipulation. Because you’re not detangling, sectioning, or manipulating your hair extensively after washing, this method causes less stress on your strands compared to more involved styling techniques.
- Natural curl definition. A well-executed wash and go allows your natural curl pattern to shine, rather than altering or stretching it the way twist-outs or braid-outs often do.
- Repeatable and refreshable. Once you’ve dialed in your product routine, a wash and go is easy to refresh over the following days without needing to fully re-wash your hair.
What You’ll Need
- A sulfate-free or curl-friendly shampoo, or a co-wash conditioner
- A leave-in conditioner
- A curl-defining cream or gel (many people use both together, sometimes referred to as the “LOC” or “LOCG” method)
- A wide-tooth comb or detangling brush
- Microfiber towel or an old cotton t-shirt for plopping
- Optional: a diffuser attachment for your blow dryer
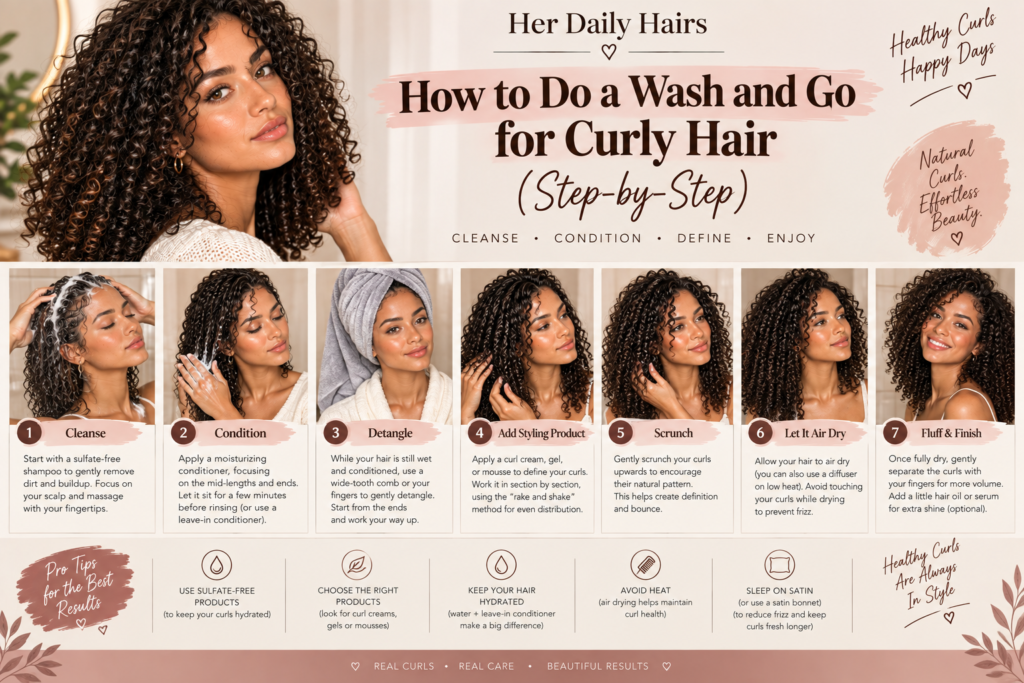
How to Do a Wash and Go: Step-by-Step
Step 1: Detangle Before You Wash
Gently detangle your hair with a wide-tooth comb or your fingers before you get in the shower, working in sections from the ends up toward the roots. Detangling dry or pre-wash hair (sometimes with a bit of conditioner or oil to add slip) can help reduce breakage compared to detangling fully wet hair from scratch.

Step 2: Cleanse Your Hair
Wash your hair with a sulfate-free shampoo or co-wash conditioner, focusing primarily on your scalp to remove buildup. Avoid vigorously scrubbing the length of your hair, which can cause tangling and frizz.

Step 3: Apply Conditioner and Detangle Further
While your hair is fully saturated with conditioner, use this slip to further detangle in sections, working from ends to roots. This step is often where the majority of your detangling happens, since conditioner-coated hair is generally easier to work through than dry hair.
Step 4: Rinse (Fully or Partially)
Depending on your hair’s needs, you can rinse your conditioner out fully, or leave a small amount in as the base layer of your styling routine. Many wash and go routines specifically leave some conditioner in to help boost moisture and definition.
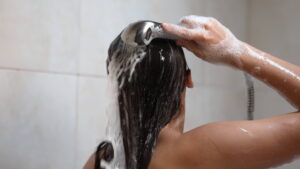
Step 5: Apply Your Leave-In Conditioner
While your hair is still dripping wet, apply a leave-in conditioner section by section, raking it through with your fingers or a wide-tooth comb. This step is crucial — most wash and go techniques rely on styling products being applied to soaking wet, not just damp, hair.
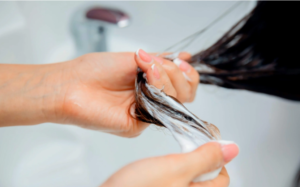
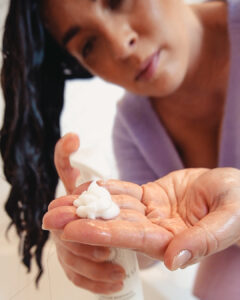
Step 6: Apply Your Curl Cream and/or Gel
Apply your curl-defining cream (and gel, if using both) in the same sectioned approach, using either the “praying hands” method (smoothing product down the length of each section) or “scrunching” the product upward into your curls to encourage clumping.
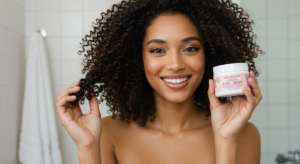
Step 7: Scrunch Out Excess Water
Once product is applied throughout, use a microfiber towel or cotton t-shirt to gently scrunch upward into your roots and along your curls, removing excess water without disrupting the curl clumps you’ve just created.

Step 8: Dry Your Hair
Let your hair air dry fully, or use a diffuser attachment on a low or medium heat setting to speed up the process. Diffusing tends to add more volume, while air drying typically results in a slightly more relaxed, elongated curl pattern.
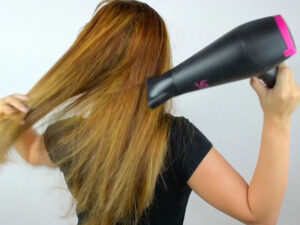
Step 9: Scrunch Out the Crunch
Once your hair is fully dry, many gels leave behind a stiff, crunchy layer (often called “cast”) that helps hold curl definition while drying. Once dry, gently scrunch your hair with your hands to break this cast and reveal softer, bouncier curls underneath.

Tips for Better Wash and Go Results
- Apply products to soaking wet hair, not just damp hair. This is one of the most common mistakes people make, and it significantly affects how well your curls clump and define.
- Avoid touching your hair while it dries. Repeatedly touching or restyling your curls mid-dry tends to cause frizz rather than improving definition.
- Use the right amount of product for your density. Fine, low-density hair typically needs less product to avoid weighing curls down, while thick, dense hair often needs more to fully coat each strand.
- Consider plopping. Wrapping your hair in a microfiber towel or t-shirt for 10-20 minutes after styling (rather than diffusing or air drying immediately) can help enhance curl clumping and reduce drying time.
- Adjust your routine by curl type. Looser curl patterns often need lighter products to avoid weighing curls down, while tighter coils typically benefit from richer creams and heavier gels for adequate moisture and hold.
How to Refresh a Wash and Go
One of the biggest advantages of a wash and go is that it doesn’t need to be fully redone every day. To refresh:
- Lightly mist your hair with water (or a water-based refresher spray) to reactivate the products already in your hair.
- Add a small amount of gel or curl cream to any areas that look flat or frizzy, scrunching it in gently.
- Re-diffuse or air dry as needed, following the same gentle handling approach as your original wash and go.
Most wash and go styles can be refreshed for two to four days before needing a full re-wash, depending on your hair type, activity level, and how well your scalp handles extended time between washes.
Frequently Asked Questions About Wash and Go Curly Hair
Why does my wash and go look frizzy instead of defined? Frizz is often caused by applying product to hair that isn’t wet enough, disturbing curls while they’re still drying, or not using enough product to fully coat and define each curl clump. Revisiting these three factors is usually the fastest way to troubleshoot a frizzy wash and go.
How long does a wash and go take to dry? Air drying can take anywhere from a few hours to overnight depending on hair density and length, while diffusing typically cuts drying time down to 20-40 minutes.
Can I do a wash and go on second-day hair? A true wash and go specifically involves washing your hair as part of the process, but you can achieve a similar refreshed look on second-day hair using a water-based refresher spray and a small amount of additional product.
What’s the best product combination for a wash and go? This varies by hair type, but a common, reliable combination is a leave-in conditioner followed by a curl cream and then a gel on top (sometimes called the “LOCG method”), which layers moisture, definition, and hold.
Does a wash and go work for all curl types? Yes, though the technique and products used often need to be adjusted. Looser curl patterns typically require lighter products and less overall product buildup, while tighter, coilier curl patterns generally benefit from richer, heavier products for adequate definition and hold.
Final Thoughts
A well-executed wash and go proves that low-maintenance and well-defined curls aren’t mutually exclusive. Once you’ve nailed down the right products and techniques for your specific curl pattern, this method can become one of the fastest, most repeatable parts of your entire hair routine.
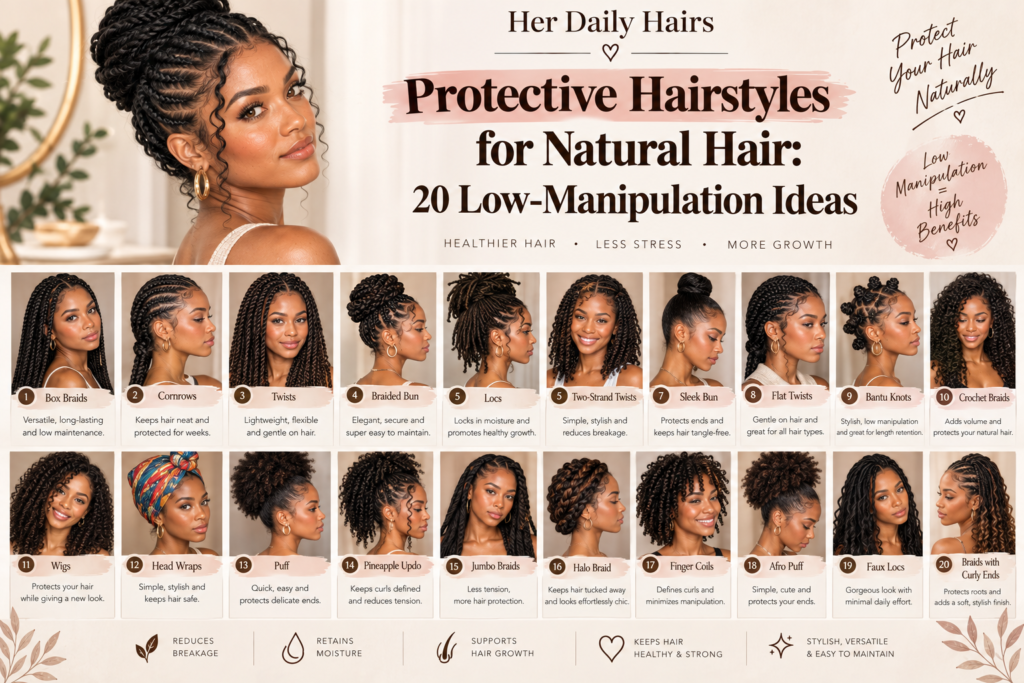
Loved this tutorial? Save it to Pinterest so you have the full routine ready for your next wash day.
Looking for more curly hair inspiration? Check out our guides on Curly Hair Styling Guide: 15 Looks for Every Curl Type and Protective Hairstyles for Natural Hair: 20 Low-Manipulation Ideas for more ways to care for your natural texture.