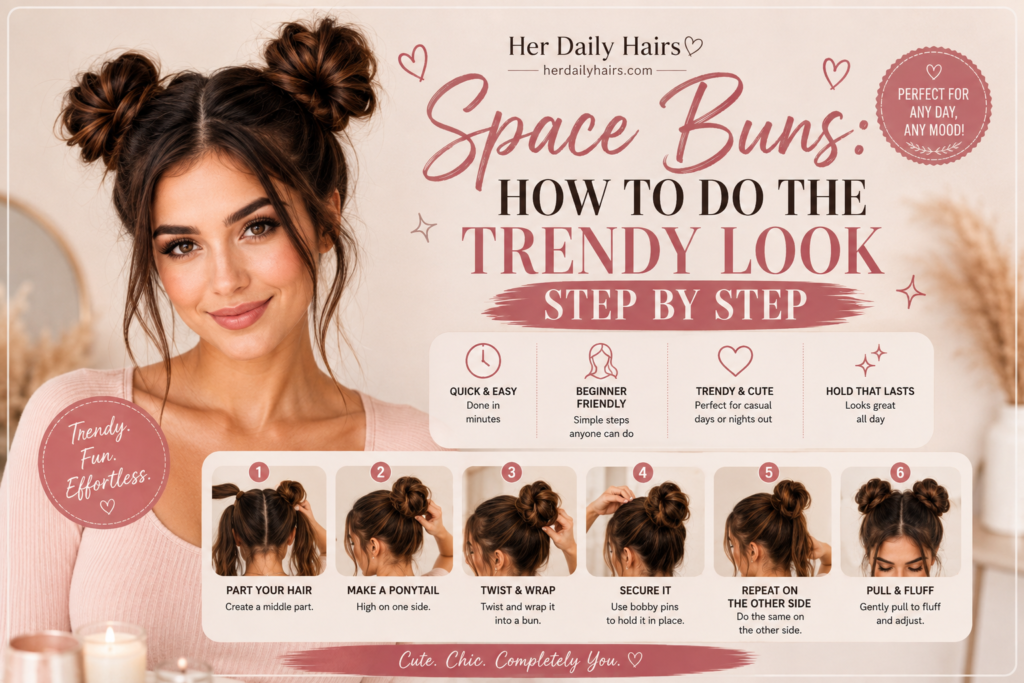
Space buns have stuck around as a trend precisely because they hit that rare combination of playful and practical — fun enough to feel like a statement, simple enough to actually recreate at home. Whether you’re headed to a festival or just want a change from your usual ponytail, this space bun hairstyle tutorial walks through exactly how to do space buns, step by step.
What You’ll Need
- A rat-tail comb or similar tool for parting
- Two hair elastics
- Bobby pins
- Optional: texturizing spray or dry shampoo
How to Do Space Buns in 6 Steps
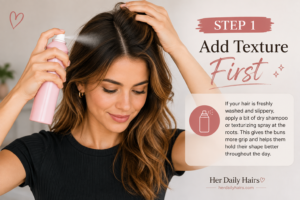
Step 1: Add Texture First
If your hair is freshly washed and slippery, apply a bit of dry shampoo or texturizing spray at the roots. This gives the buns more grip and helps them hold their shape better throughout the day.
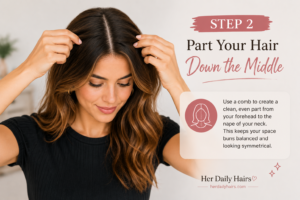
Step 2: Part Your Hair Down the Middle
Using a rat-tail comb, create a clean, even part from your forehead to the back of your head, dividing your hair into two equal sections.
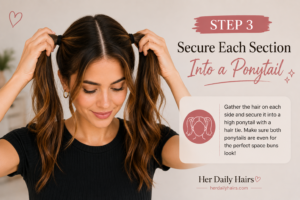
Step 3: Secure Each Section Into a Ponytail
Gather each section separately and secure it with an elastic at your desired height — symmetrical placement on both sides is key for a balanced, even look.
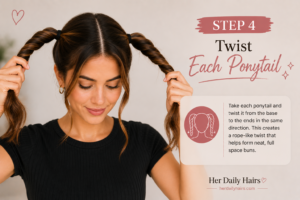
Step 4: Twist Each Ponytail
Take one ponytail and twist it fully from root to tip. The twist helps the hair coil naturally into a bun shape and adds extra hold once secured.
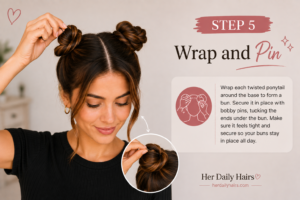
Step 5: Wrap and Pin
Wrap the twisted section around the base of its ponytail, forming a bun shape, and secure with bobby pins. Repeat on the other side, making sure both buns are roughly the same size for symmetry.
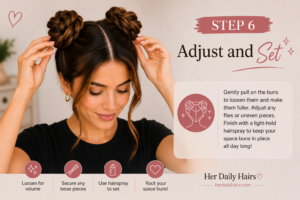
Step 6: Adjust and Set
Gently tug at each bun to loosen it slightly if you want a softer, less tight finish, and use a light hairspray to set any flyaways in place.
Space Bun Variations to Try
- Braided space buns: Braid each section before twisting it into a bun for added texture and detail.
- Half-up space buns: Only gather the top sections of hair into buns, leaving the rest down for a softer, less structured version.
- Low space buns: Position the buns lower on the head, just above the ears, for a slightly less dramatic take on the trend.
- Messy space buns: Loosen the twists and pull a few pieces free after pinning for a deliberately undone, boho-inspired finish.
Tips for Better Space Buns
- Keep your part perfectly even. An uneven part is one of the most common reasons space buns look mismatched or lopsided.
- Match the size of your sections. Take a moment to compare both ponytail sections before securing them to ensure your buns end up symmetrical.
- Use enough bobby pins. Space buns rely on the twist holding its shape — under-pinning is a common reason they unravel throughout the day.
- Consider your hair length. Very short hair may not have enough length to fully wrap into a bun shape — a half-up space bun variation can work better in that case.
Common Mistakes to Avoid
- Skipping the twist. Simply wrapping straight hair around the base without twisting first often results in a looser, less secure bun.
- Making the buns too tight. Overly tight buns can cause discomfort and tension at the scalp — aim for a snug, not painful, hold.
- Uneven ponytail placement. Take an extra moment with your part and ponytail height to ensure both sides match before moving on to the twisting and pinning steps.
- Using an elastic that’s too thin. A thin rubber band can snap under the tension of thicker hair — a slightly thicker, fabric-covered elastic tends to hold better and last longer through the day.
- Forgetting to secure loose ends. After wrapping the twist around the base, tuck any stray ends underneath the bun and pin them in place rather than leaving them sticking out.
Space Buns by Hair Type
- Straight hair: Straight strands can be trickier to twist into a bun that holds, since there’s less natural texture for the twist to grip. A texturizing spray before starting makes a noticeable difference.
- Wavy hair: Wavy hair tends to hold the twisted bun shape especially well, often needing fewer pins than straighter textures.
- Curly hair: Curls add natural grip and volume to space buns, though gently detangling and using a bit of curl cream beforehand helps prevent frizz around the twist.
- Fine hair: Since fine hair is more prone to slipping, adding dry shampoo or a light dusting of texturizing powder at the roots before sectioning helps the buns stay secure for longer.
- Thick hair: Thicker sections may need a stronger elastic and a few extra bobby pins to keep the twist fully wrapped and contained.
Frequently Asked Questions
How long does it take to do space buns? Once you’re familiar with the technique, most people can complete space buns in under five minutes. The first few attempts may take a bit longer while you get used to twisting and wrapping evenly.
Do space buns work on short hair? Space buns generally need at least chin-length hair to fully wrap around the base. For shorter hair, a half-up space bun variation — using just the top sections — tends to work better than attempting a full bun.
How do I make space buns look less messy? Smoothing each section with a brush before securing the ponytail, and using a bit of gel or smoothing cream, helps create a cleaner, more polished version of the style. For an intentionally undone look, simply skip the smoothing step.
Can I sleep in space buns? While possible, sleeping in space buns isn’t ideal for hair health, since the tension and pins can cause breakage overnight. If you want a similar effect for heatless waves, a looser twist-out is a gentler option for overnight wear.
Final Thoughts
Space buns remain a fun, low-effort way to switch up your usual routine, and once you’ve practiced the twist-and-wrap technique a few times, this tutorial on how to do space buns becomes one you can recreate from memory in just a couple of minutes. Whether you keep it classic or try one of the variations above, it’s an easy trend to make your own.
Looking for more trending hairstyle tutorials? Check out our guides on Claw Clip Hairstyles and How to Do a Messy Bun in Under 2 Minutes for more quick styling ideas.